Chad and I were so excited about the way our basement renovation turned out. We've long had the "building bug" and this project just made us even more excited for future house projects. The basement has gone from my least favorite place in our house, to my absolute favorite... I LOVE to go down there now to do laundry (except for the carrying clothes up and down the stairs part which still drives me crazy!!) and we spend the vast majority of our "down" time downstairs now (pun!). Hope you enjoy this little tour of our hard, fun work!
Coming down the steps, this is the view...
I took out the clutter for a few pictures to show how the finished wall turned out... You'll probably notice how the paint color that we chose for here - Wedgewood Grey by Benjamin Moore - looks very different depending on the lighting... sometimes it's a light blue and sometimes it's a dusty bluish-grey:
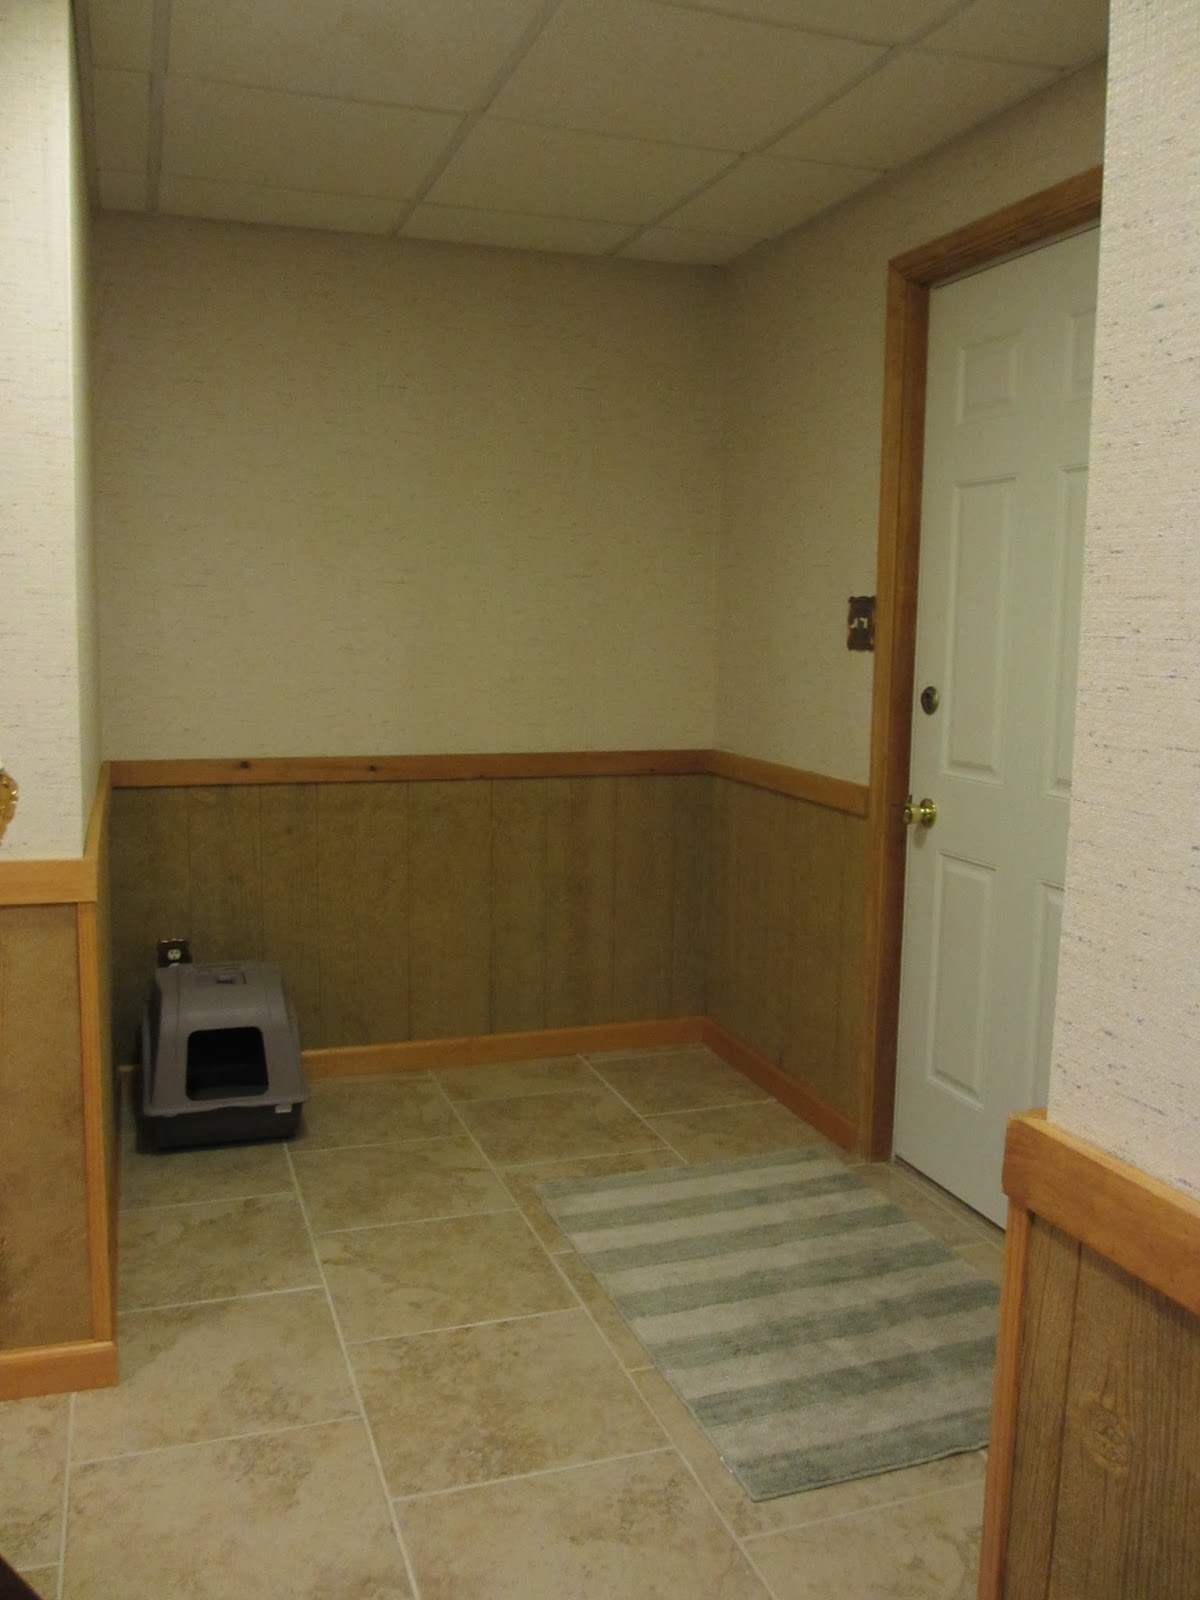
We keep Asher's crazy massive "cat condo" in the corner (not pictured) and a keyboard that we have no other good place to put :)
I designed this pretty dandelion out of vinyl and I hope one day to set up an etsy store and start selling this design and some of the others that I've made...
And Chad and I made this bench for the entryway space (more on how we made this in another post to come!!):
Now to the actual relaxing space!!
Chad and I had a local furniture maker make us this cabinet (we don't have any knobs on it yet because we couldn't decide what we wanted...). We searched high and low, near and far for a TV console that would work in our space and hold ALL our 400+ DVDs and Blurays. I cannot speak highly enough about his work! We were so pleased that we decided to go with a local business. It turned out to be cheaper than almost anything that we could find anywhere else, and it's the exact specifications/color that we wanted. So pleased with it! (Also very pleased with the cool big screen TV we got to go along with it!) ;)
Chad also built some speakers into the ceiling along with the pot lights for a great surround sound system :)
I love having soft throws around this room... there is always one nearby to grab. Just in the basement alone I have 7 right now! And I'm addicted to them... they always catch my eye in stores. Chad makes fun of me because I can't keep myself from buying them!!
Plus I think fabrics are so important in a room like this to soften it and make it feel comfortable. The sectional sofa and the pillows it came with (which Chad brought with him when he left home) is very comfortable and the color wasn't horrible with our other choices, so we decided to keep it and save some money. We did get some new drapery, though, in a soft white color, almost burlap/linen texture. Plus how cute is the curtain rod we found??
I closed the blinds to help with some lighting issues but check out the gorgeous view we've got today due to snow a few days ago and an ice storm last night:
 I love looking out the widow at that! Speaking of looking out of windows, remember how we switched out the door to the patio to one that had a window in it... here's how that corner of the room looks now:
We made it into another little "entryway" space since we do use this door quite often to get in and out! The bookcase and rug were also brought with Chad from his parent's house. The bookcase fits so perfect in this spot! Getting it "staged" is still a work in progress though... :) Also, check out the view from this door... dreamy, icy, lovely winter. (I know most people don't like it because it causes a lot of problems, but you have to admit, it's beautiful!) ;)
We finished off the basement with some decor in a variety of grays/metals paired with wood grains/warmer tones. Threw in some pretty clear glass pieces, and a bit of black and white to anchor it all together.
This space will be a work in progress, I'm sure, until the day we move... I'm always very slow to actually buy things (Chad makes fun of me because I oohh and aahh over things like crazy, but I can never bring myself to actually spend the money...) but over time I will slowly buy and incorporate new things! :)
Thanks for stopping by and checking out this "new" space and sharing in my excitement of it! Just as a reminded of how far this space has come I'll leave you with a few pictures of what it used to look like. In case you missed it, you can read about how it all got started and see all the progress pictures HERE.
I think we've definitely made an improvement! :)
Christmas decorating is now in full swing at the Frey home! Chad & I put up our tree on Thursday, a week BEFORE Thanksgiving, and I hung my garlands on the stair banister, along with some Christmas lights! (not quite done with that, though, because I discovered that one of my light strands isn't working, and I need to go buy some more!). And my wreaths are up. I finally threw away the very dead mums on my front porch... There are still some pumpkins out there though, because Chad said, "Well, it still isn't Thanksgiving yet for another week...", so I had mercy on those and they can stay a little longer. But for the most part, Fall decorations are coming down, and Winter is taking over.
And last night, we had the first snow flurries of the season, so everything, indoors & out, is really starting to feel like winter now! I get very excited about all this, if you can't tell! :)
Yesterday, I also took a few minutes to change out the Apothecary jars I have sitting on my bathtub in our master bathroom. I normally have these filled with bath bombs, sponges & other bath tools, soap flowers, and yes, Epsom salt! I saw several months ago, on pinterest, some really cool projects that used Epsom salt to look like snow! I thought this was such a cool idea, because it really is so sparkly and white, just like freshly fallen snow. And I've definitely seen some apothecary "snow globe" decor ideas this year. So I thought, I've already got Epson salt in this apothecary jar, why not add some trees and make it a pretty winter scene??
This was the simplest project ever. I love the simplicity and calmness of the look. Now there's just a little added feeling of serene winter in our bathroom!
All I needed for this project was Epsom salt, which was already in one of these Apothecary jars. I just emptied the other two and spread the Epson salt out between all of them. And I grabbed a few more of the bottle brush trees that I recently purchased at Lowe's, and to finish the project, I just arranged them in the "snow". You can see my other Christmas in a Bottle Project that I made with them HERE. And that is it! Done. Simplest way to "winterize" a bathroom ever! ;) They definitely bring a smile to my face every time I walk in there!
I had a very realistic dream last night that I woke up and noticed this soft sort of glow outside our bedroom window, and I knew right away what it meant. I jumped out of bed and rushed over to push the blinds back and saw a thin layer of crisp white snow over everything. It had just started to fall, only just covering the grass and laying so sparkly on all the trees... *Cue a nostalgic sigh.*
When my dreams become entirely about snow, I know that I'm in full blown Winter Mode. I love winter. I love snow and ice and being stuck inside. I guess that's the introvert in me. Christmas is my absolute favorite holiday. Being in warm, cozy, soft sweaters is my Happy Place. Especially if there is cuddling-with-my-husband, a good book, and/or a fire involved. I love going to stores during winter and looking through all the new Christmas decor. I'm as pale as a vampire and practically burst into flame when I go outside in the summer... I just wasn't built for it. But during winter, I get a glow, and it has nothing to do with the sun. And I'm excited that now the time has come again, and I finally get to start my Christmas/winter decorating for the season.
I have yet to go all out and really decorate like I would love to because it would take quite a large budget to buy all the decor I've had my eyes on over the years. This will be Chad & my 3rd Christmas together as husband and wife, and we've been slowly accumulating things each year! I've also been trying to do some DIY projects for decorating to make this year the most decorative ever! Which brings me to the reason for this post! I wanted to share a cute little project that only took maybe an hour to make and I think turned out super cute!

The inspiration behind this project is snow globes, which I'm not so much into anymore, but I loved as a kid. I still love those winter village scene collections, though, where you can buy all the individual houses and people and add to your scene each year! My mom used to do that with my sister and me each Christmas... Maybe one day I'll start a collection of my own. I've seen similar things to this on Pinterest, especially with mason jars, but I couldn't find much of anything at all with wine bottles.
This was so easy to make and there aren't a ton of supplies involved. Here's what you need:
-Clear glass wine bottle (emptied, "delabeled", and cleaned)
-The cork from the wine bottle
-White thread & needle
-Small pushpin
-Small bottle brush trees assortment of your choice
-Epsom salt
-Thin cardboard or card stock of your choice
-Sissors
-Some kind of long thin stick that you can use to stick down into the wine bottle for maneuvering the trees
I pull the labels off my wine bottles and clean them out usually as soon we're done with them, so this one was all ready for me to use. Fill the bottle with as much Epsom salt as you'd like. One suggestion I have with this is to go ahead and use a funnel or be sure to pour in the salt as carefully as possible. If the salt touches the edges a lot, it can leave salt dust on the walls of the bottle that make it look cloudy and are next impossible to get off without emptying the bottle and cleaning it out with water again.
Next I selected my trees. I recently got a big pack of these bottle brush trees from Lowes and I used 2 of the smallest size and 1 of the next size up (which was still pretty small). Remember it has to fit through the mouth of your bottle. The bigger one that I used was a tight fit. The first thing that I had to do to make these trees work, was take them out of their bases. This was a piece of cake because mine are just threaded in there like a screw and secured only with a small amount of glue. It was easy to unscrew them and pull them out with just a small amount of force. And I think once I'm done with these, I could always screw them back into the base again and they'd work just fine!


I inserted the large one first. I sort of scrunched up the fat part of the tree to make it a little narrower and then I just pushed it down into the bottle. It doesn't matter that much how it lands, as it's not too difficult, with some patience and maneuvering, to get the tree into the position you want it to stay. After all the trees you want to use are inserted, take a stick, or something long and thin, and use it to push the trees into place. I just used a stick I picked up outside and also a wooden BBQ skewer. Again, it actually wasn't as hard for me to place the trees as I thought it was going to be, but it did take some patience and some time. Once your trees are how you want them, the hardest part is over. Really, you could just leave it like this if you wanted.
I wanted to add a star, though. For this, I simply cut a star out of a thin piece of scrap cardboard I had laying around. You could also use cardstock if you prefer. To hang it, I threaded a needle with some white thread and pulled it through the tip of the star. I tied one end off so it would stay attached to the star. Meanwhile, I pushed a short pushpin up into the bottom of the cork. Then I simply hung the star to the length I wanted it to be hanging down into the bottle and tied the other end of the thread around the pushpin in the cork. All that's left then is to insert the cork back into the bottle, and there you go. A gorgeous Christmas scene!

This could be a really fun project to do with older kids (it may be a little to difficult for younger ones). Or you could be like me, and just make it to enjoy a pretty scene on your kitchen counter! I think this could be a super fun decoration to have at a Christmas party. It would be especially cute sitting with the other wines you might be serving!
I'm sure there will be many more Christmas projects for me in the next few weeks to come! :)
See how I dressed up the other wine bottles in this picture above HERE.
Happy Winter!! :)