Sunday, July 22, 2012

DIY Lavender Sugar Hand Scrub

Chad and I have both been so busy that it feels almost like we are stealing little moments of time away from Other-Things-We-Really-Should-Be-Doing-Right-Now to work on Things-We-Would-Really-Love-To-Get-Done-Around-The-House! But don't get us wrong, we love to be busy!  It's a great feeling to have purpose and goals! :) 

I spent the better part of Friday in the kitchen working on some yummy treats for a work picnic that we had today (Saturday).  In fact, I wasn't finished washing up the kitchen until about 10:00pm.  Then this morning Chad had a haircut at 8:00am and then work from 9:00-12:00am, and then he and I grabbed lunch at Trickling Springs right across from work, and headed to Lowes.  We were there about an hour and a half (which sounds like a really long time to be at Lowes!!) but it took us that long to find everything we needed!  (Chad was in Heaven! haha!) We got home around 3:00pm, put away the things we just bought, and stole just a few minutes to get a some things together for the outdoor projects we've been working on!  Then we grabbed all the goodies I made yesterday and headed over to Chad's parents house for our picnic!  That was a blast! :)  We had great food, fun conversations, lots of bubble-blowing, and fun fourwheel-riding!  We even had a little time tonight to come home and work a little outside again until about 10:00pm!  Tomorrow, Chad and I also have another gathering at his parent's house with his dad's side of the family! So tomorrow will be another full, busy day! :)

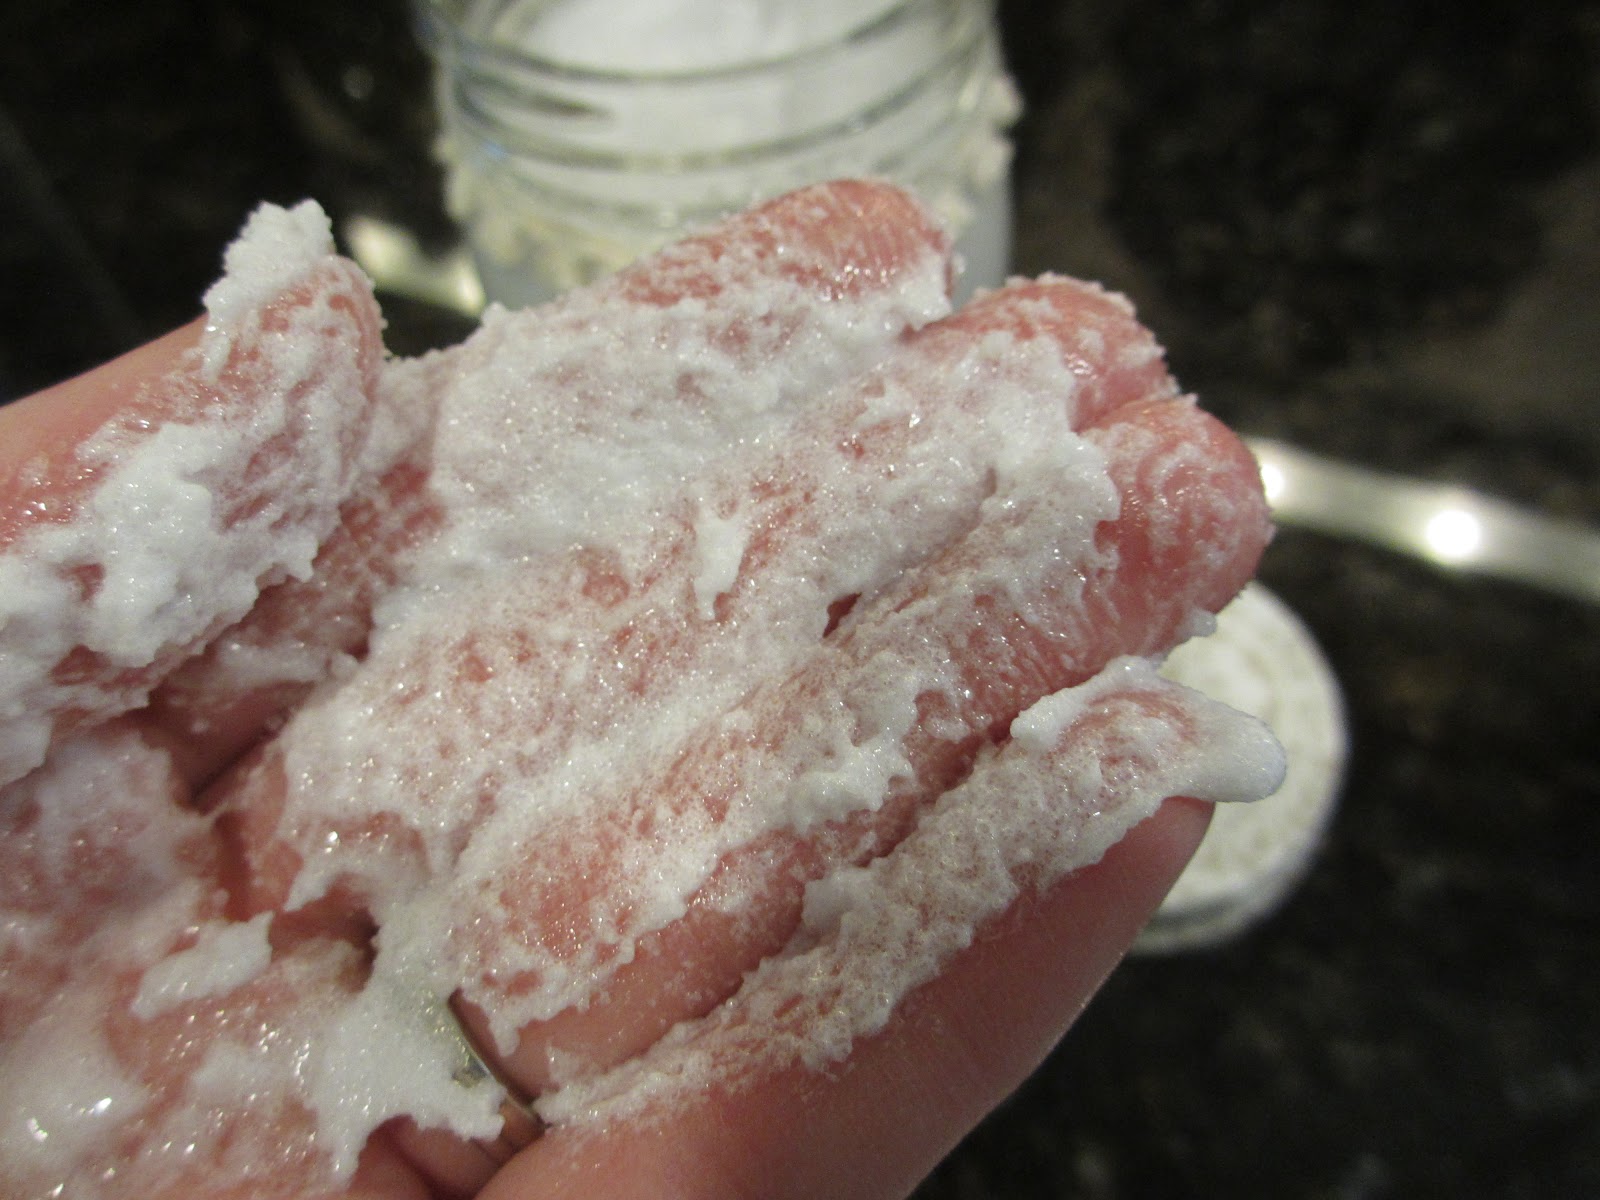
Anyway, I wanted to steal a few more minutes to write a quick post about the very quick DIY project I worked on this morning while Chad was at work!  It only took me about 45 minutes, and really it could take as little as 10 minutes if I didn't get all fancy! ;)  I saw this Gardener's Hand Scrub on Pinterest not so very long ago and wondered to myself if it really did do anything to make your hands any softer than just normal soap would.  I constantly have my hands in water, covered in dirt, greased up with oils from the kitchen, or dried out from dust in the warehouse at work, and they are not, almost ever, in anywhere remotely close to "good" condition.  So I thought this Scrub sounded like a great easy way to get clean soft hands, should it actually work, and I figured it would be so fast and easy it was worth the effort!  I'm so glad I tried it! I thought it turned out super cute and I definitely think my hands felt softer even after the first use!  I liked it so much I even made Chad try it as soon as he got home from work!  He even told me that he really liked it, and that his hands felt nicer, and that "it actually smells really nice".  Hahaha!

So here's my final product:


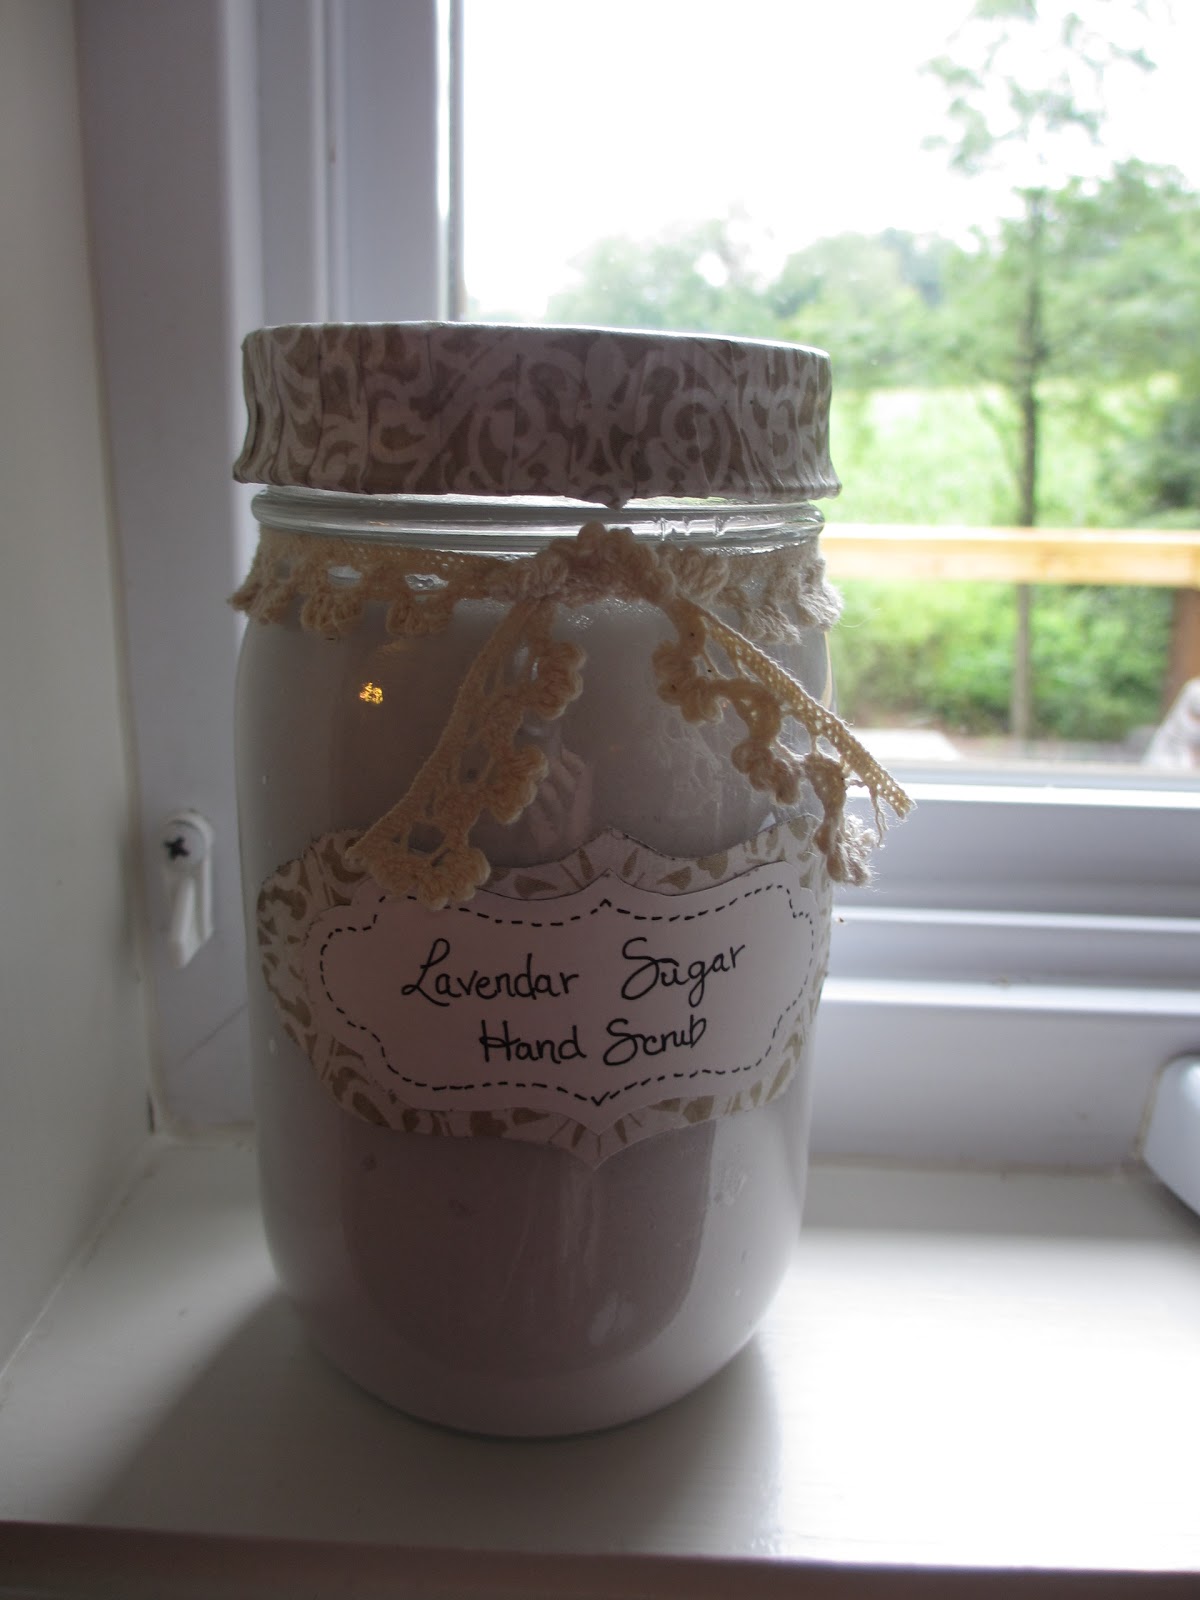
(For all you Spelling Police - I do realized I spelled "Lavendar" wrong :(... oh well. This should not come as a surprise to you... Hahaha!) 

The original "recipe" is only 2 ingredients and doesn't give any real measurements because this largely depends on what container you're putting it into and what consistency you like your scrub to be.  I'm not entirely sure what size my container is (because it was a recycled pickle jar and I'm terrible with estimating sizes), but I think it may be about a pint.  For this size and for a consistency just a little on the thicker side I used:


*about 1 & 3/4 cup white sugar (You can also use brown sugar!)
*1/3 cup dawn Hand Renewal Soap (The original recipe was with the pink pomegranate color/fragrance but I found the lavender one much more appealing, so that's what I bought!)

*about 1 tsp. Vitamin E Oil (This wasn't in the original recipe but it's so good for moisturizing and I already had it on hand for making homemade chapstick.)
 

I just stirred this all together until it was mixed well and transferred it to my jar!


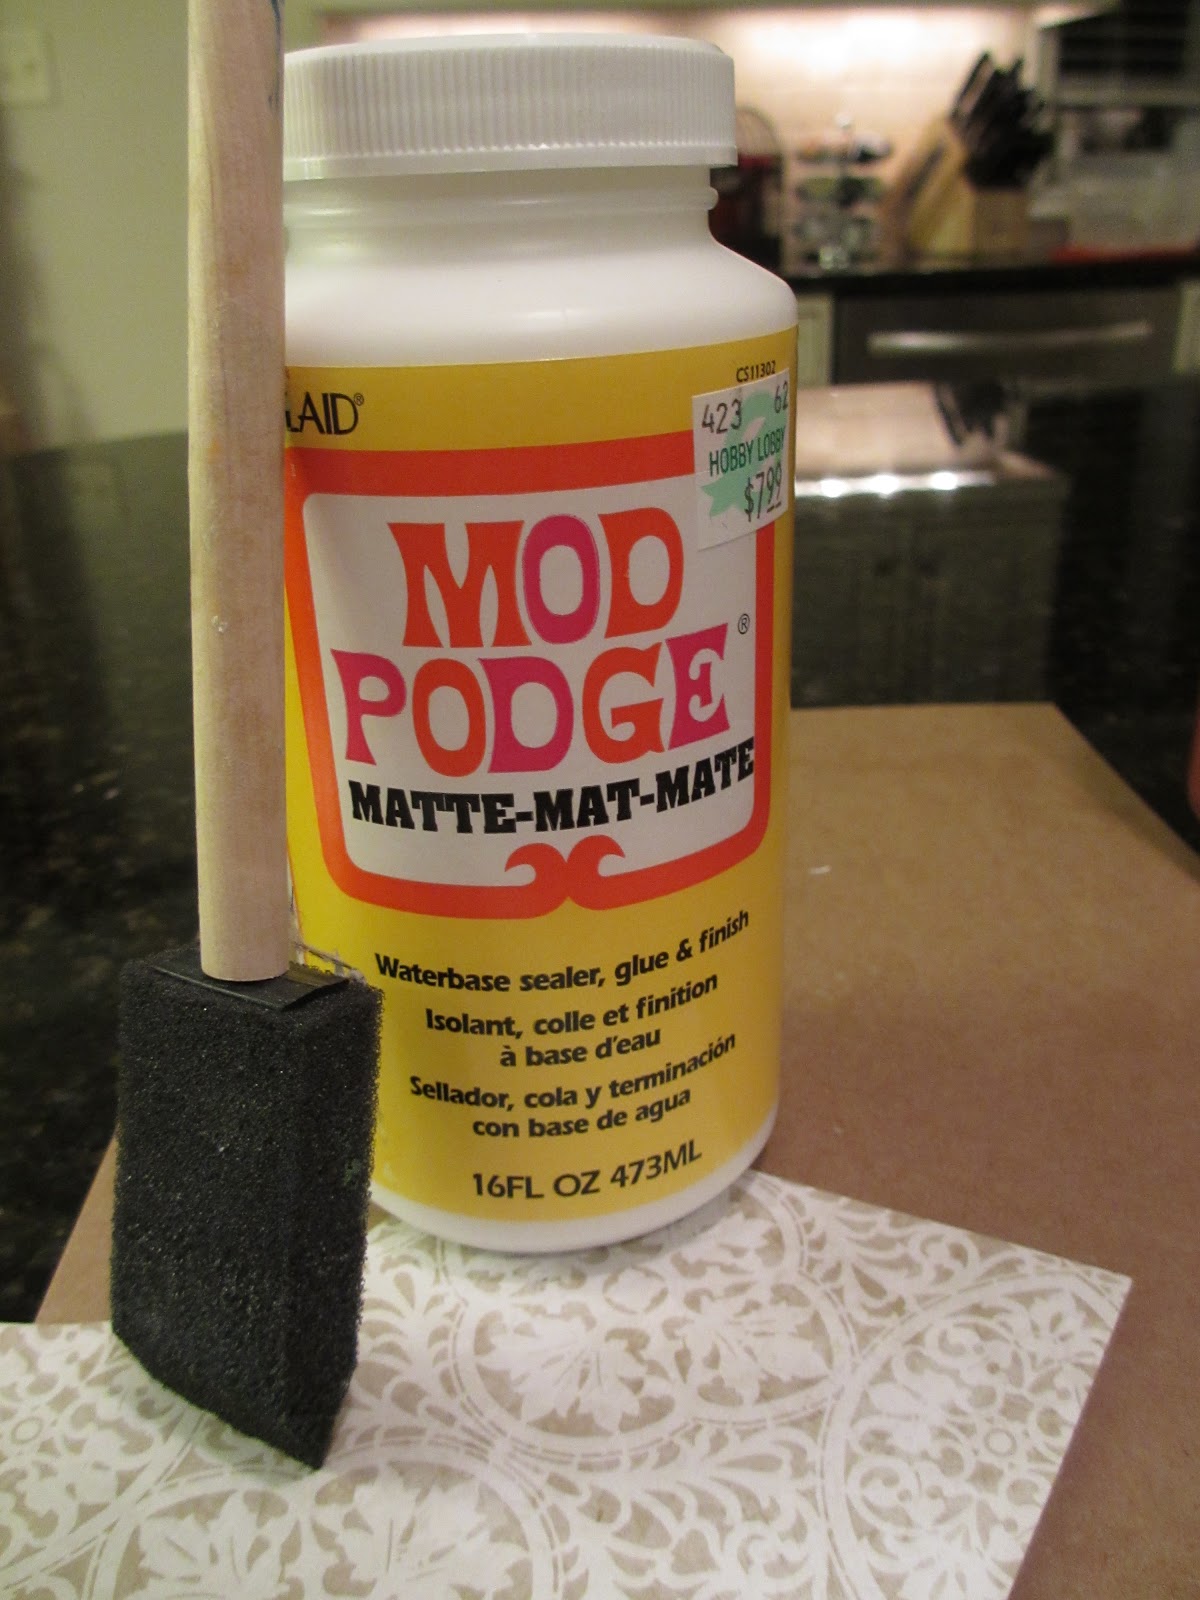
At this point I could have been done!  I, however, decided that it needed to be prettier! Of course...  So I dressed it up a little, starting with the lid!  It had the original price of the pickles that used to be in it written on the top, so I used scrapbook paper to cover that up and to add some cuteness! I forgot to take a picture of how I did this, but I used the method found here.  It was really easy and fairly quick! All I needed was a single 8 &1/2 x 11 inch piece of pretty scrap paper, Mod Podge, and and sponge brush!


For the label, I simply found a printable one online in the shape I liked, and printed it out in two sizes: a large one and a smaller one that would fit inside the larger one.  I cut these both out and traced the larger one on the same scrapbook paper that I used for the lid, and the smaller one on a piece of white cardstock.  I then cut both these out as well, and on the white one I wrote the name I decided for this concoction: "Lavender Sugar Hand Scrub" and drew a little dashed-line border, and then I stuck both of these into my hand dandy sticker maker that I love love love!! love love love love. really love it. love.


And then all there was to do was to stick the white name label onto the center of the larger scrapbook label and then stick that one onto the jar!  And, of course, I tied a little piece of lace under the mouth of the jar to finish the look!


Needless to say, I'm very excited about how easy this was and how nice it feels on my hands! And it's a really fun and fast DIY project that you can squeeze in, even in the middle of a very busy weekend!  In fact, I think it's taking me more time to write about how I did it than it actually took to do it! hahaha! :)  I love it! I foresee this becoming a future homemade Christmas gift! It would even make a really sweet party favor in cute little mini-jars!! :)  I think I need to have a party! ;)

Tuesday, July 17, 2012

DIY Living Succulent Picture

As most of you probably know by now (due to the fact that I'm constantly posting pictures on facebook), the hubs and I (with lots of help from family and friends) have been working on our "outside" for quite a while now. The yard, the landscaping, fixing water run-off issues, reworking the deck, creating a patio space, making new flower beds, adding retaining walls, and making probably close to every other possible change you could think of! :) this has been a loooong and wild process and it is still not done!  I have thought many times of writing a blog post about this process, but every time I think about it, I am overwhelmed.  There is just way too much to cover!  I have a ton of pictures on facebook, though, of our progress if you want to see it, and I think when we are completely, 100%, for sure done with this thing, I am going to make one (probably very long) blog post to showcase the before and after. haha! :) But, even though we are still not quite done yet, we are definitely seeing things take shape now.  Most of the major changes are getting finished up and that means we are finally able to start the fun stuff! YES!!! :) The little details! Decorating! Furnishing! and all those fun little (and not-so-little) DIY projects I see floating all over Pinterest!  And that is what I'm writing about today!

I love DIY!  And now that I've got some great outdoor spaces in the works, I decided to take on a project that I knew would be fun AND contribute to the space! :)  I love succulents! They are gorgeous, so easy to work with, low-maintenance, and hard to kill!  This means we are a match made in heaven!! Haha!  I have been seeing projects left and right that use succulents and knew that I wanted to do something with them! And I can tell you that this project probably will not be my last with them!  They are so cute!! I decided to make this Succulent Living Picture which I originally saw here, and I am so so pleased with how it turned out!


This did take me some time to complete! If I had a solid day to work straight through, I might have been able to do it in a day, but I don't ever have that much time on hand at once, and I don't think I know anyone else who does either! lol!  So by just grabbing a few hours here and there to work on it, this project took me about 5 days to finish!  Let me tell you how I did it!

First I started with the frame!  I got this 14x18 wood frame from Hobby Lobby at 50% off for $11.00.  I wanted to get one that didn't have any glass or backing because I don't need them for what I'm doing!

 
This frame probably is not made to be outdoors, but then again I'm not sure if you can find many that are...  However, I am going to be putting it in a spot that is fairly shielded from weather, and plus it's already very rustic and weathered-looking so if it does get a little more weathered, it will only add to the look.  I'm sure eventually it will decay and I'll have to replace it, but the same goes for the succulents.  Over time they will grow and get too large for the frame and I'll have to pull those out, too, and replace them.  It's just the "nature" of these things.  (hahaha. pun!) :)

Size-wise this turned out about perfect for the space I have.  I may do a smaller one at some point to complement it, though, because I think these pictures would look great in a grouping!  An even bigger one would be gorgeous, but these babies get REALLY heavy once you put the potting soil and plants in them and that definitely affects the ease of hanging the picture.
 
So anyway, then I made a shadow box to attach to the back of the frame.  I needed to do this so that I had a large enough area to fill with potting soil so the succulents can root!  I created this (with a little help from my hubby) by cutting up a cedar 1x4 we got from Lowes for about $6.00.  


I wanted to get a 1x3, which would have made my (husband's) job a little easier, but they didn't have any made of cedar, which I wanted because cedar is a good wood to use outside.  So I got the 1x4 and cut it into a 1x3 by taking an inch off the width and then I cut each of the pieces to match the dimensions of the inside of the frame and screwed them together to make this:


And then I (my hubby) screwed that onto the back of the frame like so:


and I ended up with this:


I then stained the outside of the shadow box with some "cool grey" stain I picked up at Lowes for about $6.00 to match the front!


I cut some 1/2 inch hardware cloth to size and stapled it in right behind the frame.  I also got this at Lowes and it cost about $10 for a big roll of which I used probably like .5%, but hey now I have it and I can make a kajillion Living Pictures if I really want! :)  This was the perfect size wire because the 1/2 inch holes were small enough to hold in the soil once I got the frame together but large enough to "plant" the stems of the succulents between.


Then I had to add a backing to the frame so that it could hold potting soil! For this I used cement board.  


The website that I was using as a guide suggested 1/4 inch plywood, but I didn't have any of that on hand and I didn't want to buy a whole sheet.  What we did have (thanks to my father-in-law) was 1/4 inch thick cement board! It doesn't rot and is water resistant, so it worked out perfect! So we attached that to the back with some screws and voila! Finished frame!


At this point, Chad and I took a Trip to Lurgan Greenhouse, which is a local nursery that I love love love! and picked up quite a few succulents!  Since we are still getting our landscaping done, I have very few plants already on hand, so I had to buy all of these, which is where I racked up most of the cost of this project! I ended up using almost all of the succulents I bought here and had to run out to Lowes to finish up which really frustrated me because I spent about the same amount of money there for about a sixth of the amount of succulents I got at Lurgan!  But anyway, even though I used most of the succulents, I saved everything left over to plant so I can divide them later for other projects! :) But, back to this project!

I then added potting soil (a lot, so much more than I thought I'd need) and also I used a bag of cactus soil that I mixed in which succulents like.  I just used my garden scoop to pour this over the wire and then brushed my hand over the wire to shake it into place.  This took a quite a while longer than I thought it would! There was a lot of dirt to put in there! lol! And then I started adding succulents.  


To get them ready I just clipped them off at the stems and pulled any leaves off the stalks that would get in the way when planting them.  I poked a hole in the potting soil with a pencil, stuck the succulent through the wire, and then used the pencil to push the dirt in around and make sure the plants were secure.

I just made up the design as I went.  I started with my biggest succulents and only used a few of those because I wanted them to be eye catchers and just started filling in from there!


I tried to keep things in small groups for the most part and I just tried things until I got a look I liked.  It took me a little longer to do this part than it probably should have because I kept changing things to make it the way I wanted it! Sometimes I would redo an entire section until I got it right! :)


But it was so worth it because I just love how it turned out!  I can't wait to do another succulent project again! But I have so so many other ones I want to try out, too! I'm sure you'll be seeing many more of my DIY projects in the future!  Unless they are horrible failures! lol! :)


It has to lay flat for at least two weeks so it can form some roots to hold the succulents in place, though I did risk leaning it up against the brick to get an idea of how it will look on the wall!  I can't wait til it's ready to go! :)