(Disclaimer: This post may have affiliate links.)
When Chad & I talked about redoing our basement, I knew I wanted some kind of entryway bench. I love halltrees and the cute cubbies systems that you can buy from pottery barn and other similar places, but I do NOT like the price tag. Here is one really cute bench from Pottery Barn that costs $400. AND it doesn't even include the baskets or the cushion (or the matching shelf above which is entirely seperate). The baskets and cushion together cost about another $170 (on sale). So to buy it like it's shown in the picture (not even including the shelf), I'd be dishing out more than $570. I just can't see myself spending that kind of money for a bench.
 |
| Potty Barn's Samantha Collection |
UPDATE! I still looooove this DIY projected we completed, but I have noticed in the three years since we built this bench, many much more affordable options have become available. If a DIY project like this is just out of your realm of comfort, check these out. In the spirit of honesty, of these benches are cheaper than what we spent to build ours! Check them out:
We had a console made for downstairs to set our ginormous new TV on because we ran into a similar problem finding one. All of them were crazy expensive and none of them were the length as we wanted or really looked like what we were hoping for. So, we decided to check out a local furniture maker, and I am SO glad we did. We had to wait a little on it because he was really busy with other projects, but he built us EXACTLY what we wanted for less money than almost anything we found in big box and local furniture stores (and actually also in really remote furniture stores that we spent hours driving to hoping to find something that would work). Life Lesson: Custom-made does not always mean overpriced. Check out ALL your options, even the ones you think may be out of your price range, before you make a decision. You may be surprised!
Anyway, I explain all that to say that we briefly considered having this furniture maker also make us an entryway system (and every other piece of furniture we ever wished we had), but we examined our priorities and decided that we just didn't want to spend the money this time around. We aren't sure how long we'll stay in this house (but it's looking like we may move sooner rather than later), so we don't want to be rash and spend money on a bunch of custom things that we can't end up working into a new place. But we definitely want to enjoy this house and make it as functional as possible for as long as we're here.
So I decided that
Here's how we did it. I found some awesome plans HERE for free that we modified to fit our space. Then we headed to Lowe's and bought a sheet of MDF and two 1x3s also made of MDF. The lumber cost us $45. (MDF is the same material that the Pottery Barn bench is mostly built out of).
Then we got our saw set up and made the necessary cuts and started assembling... this took us a few hours one weekend afternoon. The plans and pictures of other similar projects that I found on Pinterest helped us figure out exactly how to assemble the bench to our liking. Chad pre-drilled all the holes for the screws to keep the wood from splitting and countersinked the holes so the screws would be recessed into the bench and could be filled with putty to make them virtually invisible.
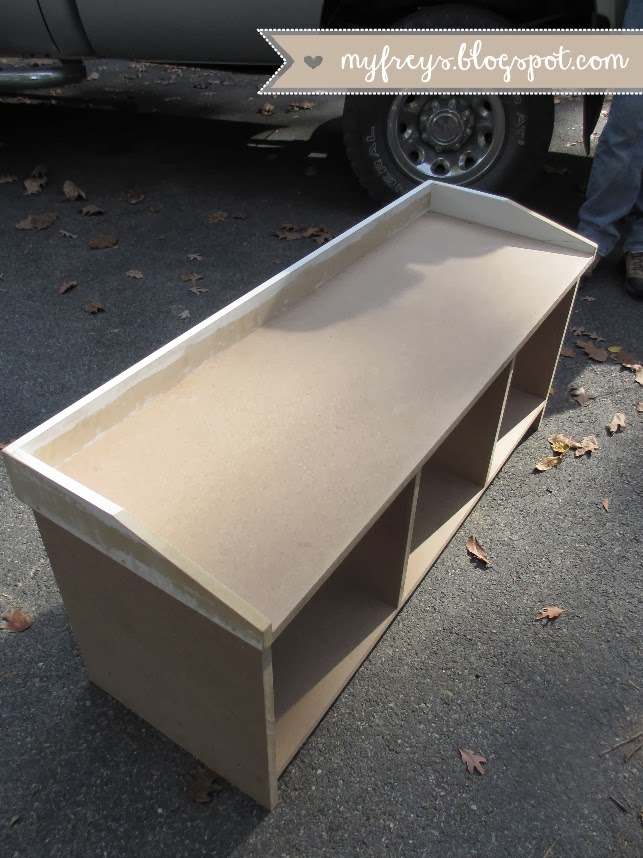
Here's what the bench looked like when before we added the trim to the bottom or the backing:
Pretty simple so far!
For the backing, I used a left over piece of wall paneling that we pulled out of our basement when we remodeled it just a few months ago. I primed it with the dreaded oil-based primer and then we attached it to the back, and also attached the 1x3 trim pieces around the bottom of the front and two sides. (...apparently I forgot to take a picture of us doing this...)
And then I painted the whole thing. Just one coat. Yep. Usually you should do two. I probably should have done two. Did I wait and take the time to do two? Nope. One was good enough for me.
Here it is:
Close up of the backing here:
So with the main bench assembled and looking pretty good by itself, I was really excited to dress it up a little!
Chad and I scrounged up some plywood that was left over from some other projects and cut that to fit the top of our bench. Then we made a trip to Hobby Lobby and bought a roll of 1 inch foam that cost less than $5 for the amount I used, and a yard of some home decor fabric that we both liked which I cannot remember the price of now, but I believe it was about $8.
We did the good ole stretch and staple method to upholster the bench. First I cut the foam to fit on the plywood with just a little overhang on all sides to make it a little padded on the edges so that it wouldn't hurt anyone's legs if they plopped down on the bench.
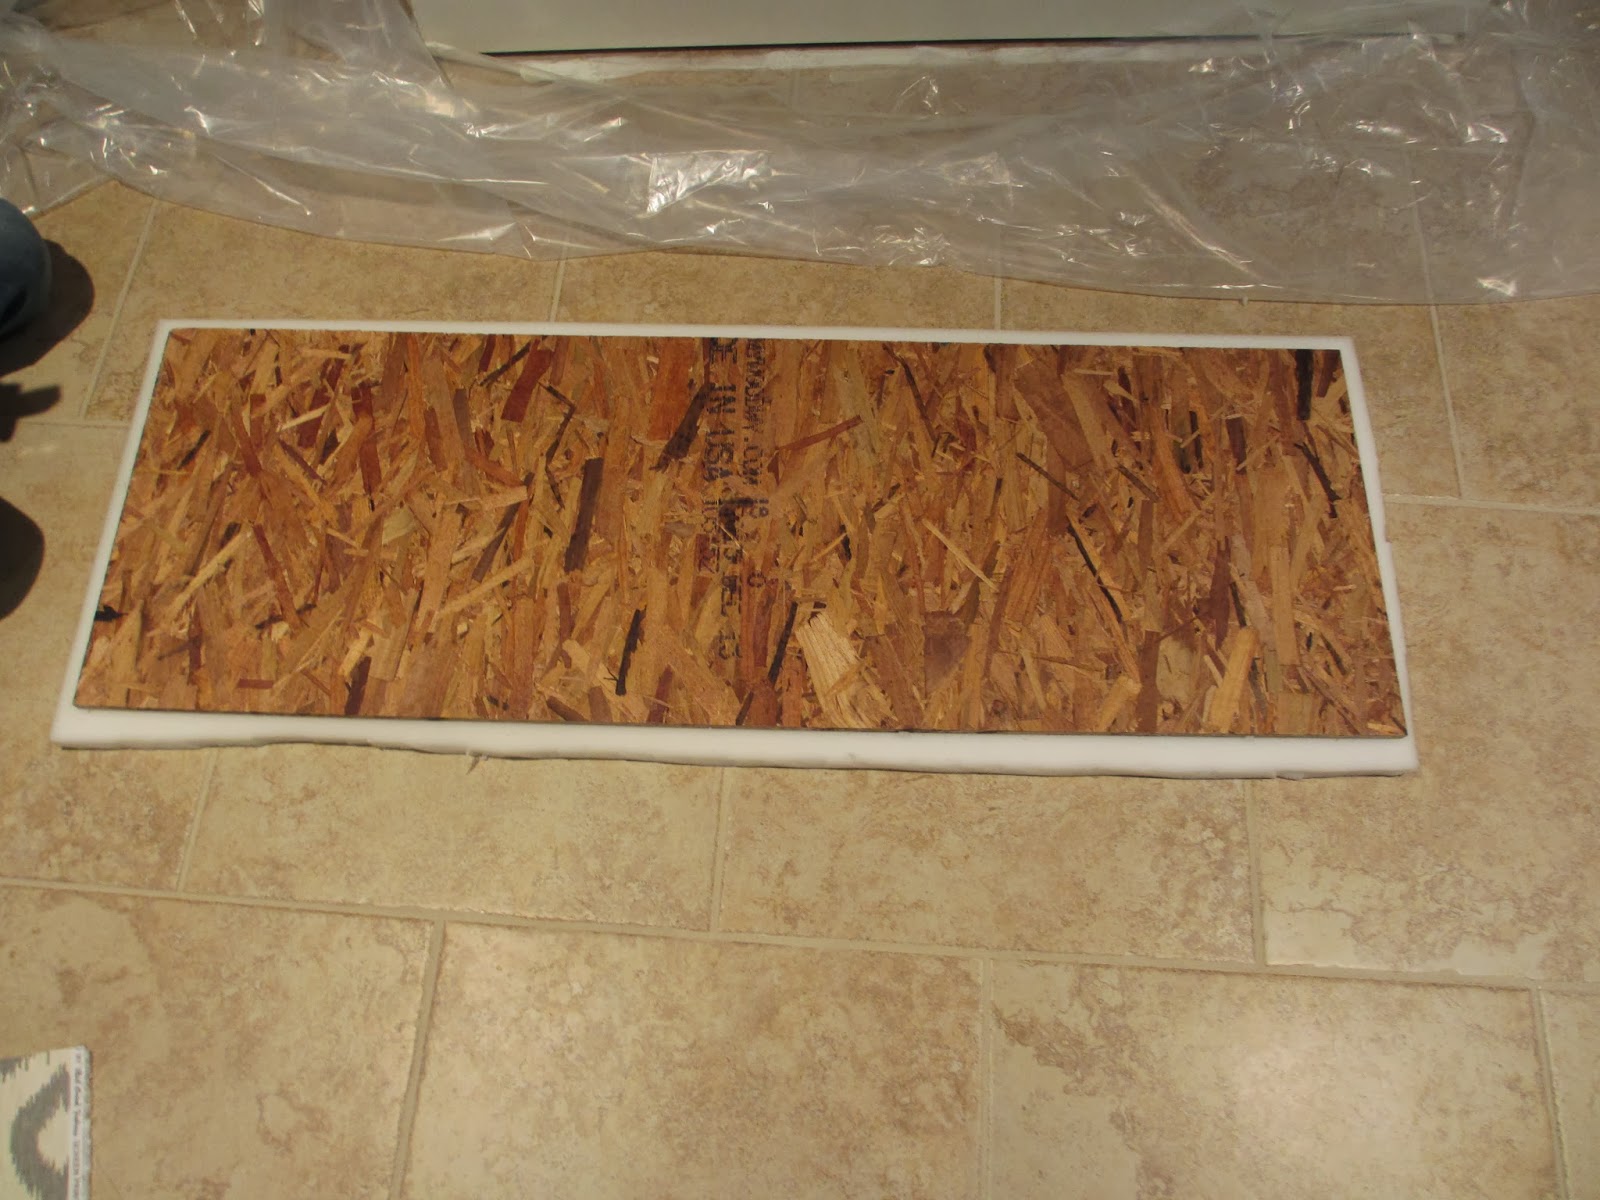
Then we laid the fabric out on the floor upside down, placed the foam over that making sure to line it up so that the fabric print would be centered, and laid the plywood over the foam. Here Chad is painstakingly lining everything up so that it turned out perfect:
Usually, you'd want to glue the foam onto the plywood to keep it from shifting. Did I take the time to glue it? Nope. It worked out just fine anyway! I stretched the fabric while Chad stapled.
Asher guarded the left over fabric. He cracks me up. :)
Pretty cushion all done and in place:
I am really thrilled with how well this bench turned out! Not to mention, the satisfaction of knowing that you built something from scratch by yourself! And best of all, the crazy amount of money that we saved by sacrificing a few hours of time and building this ourselves! All in all we have this bench built and finished with cushion and crates in the cubbies for just over $100! That is just so much cheaper than the inspiration piece from Pottery Barn!
Asher loves it, too. He thinks we built it just so that he'd have another cozy spot to lay.
If you're wondering about the crates in the bench cubbies, I got them from Michaels for less than $20 each. I originally wanted to use baskets, similar to what was shown with the Pottery Barn version, but I ran into these crates at the craft store and they were cheaper than the ones I was considering from Target. Plus they pretty much PERFECTLY matched the color of the console that we had professionally built for out TV downstairs, and the color also tied in very nicely with the gray fabric of the bench cushion. Easy decision!
I am so happy with how it turned out! Chad and I definitely plan on building a matching shelf, too, eventually, and then it'll be a complete set and we can hang our coats!!
I made a little chart of some of the main materials and products I used on the bench, if anyone is curious where some of the things came from!


